26.3 New Siterra Preview Notes
These notes describe what we've added to the new Siterra preview in this release. Review the Siterra Release Notes for other changes to the product in this release.
We're delivering this automatic upgrade to UAT environments on May 14, 2026 and to production environments on June 6, 2026.
These notes are subject to change until the production release.
Menus, options and dialogs
We've improved dialogs that display when you Update, Send, Delete, and Add items so they remain displayed when you select outside them. The Update option displays only when you make a change to an editable field.
Tree view
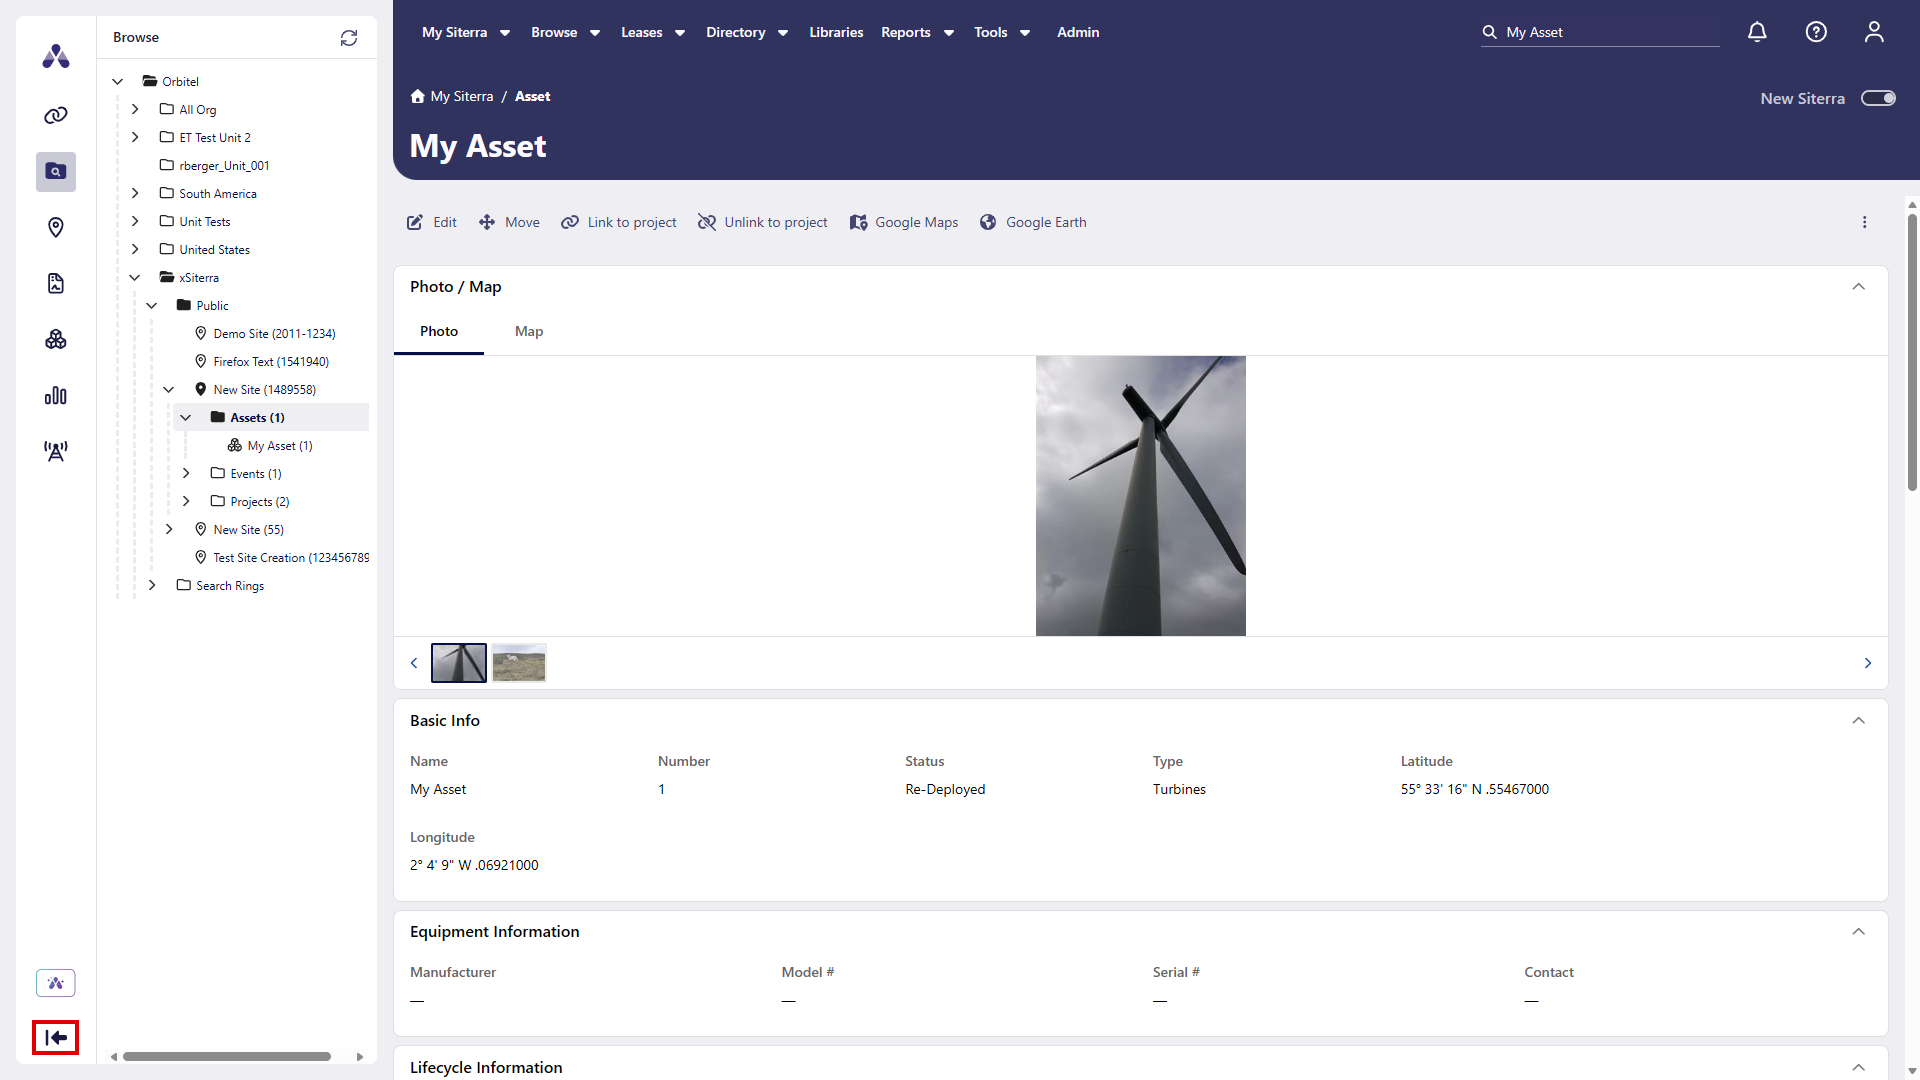
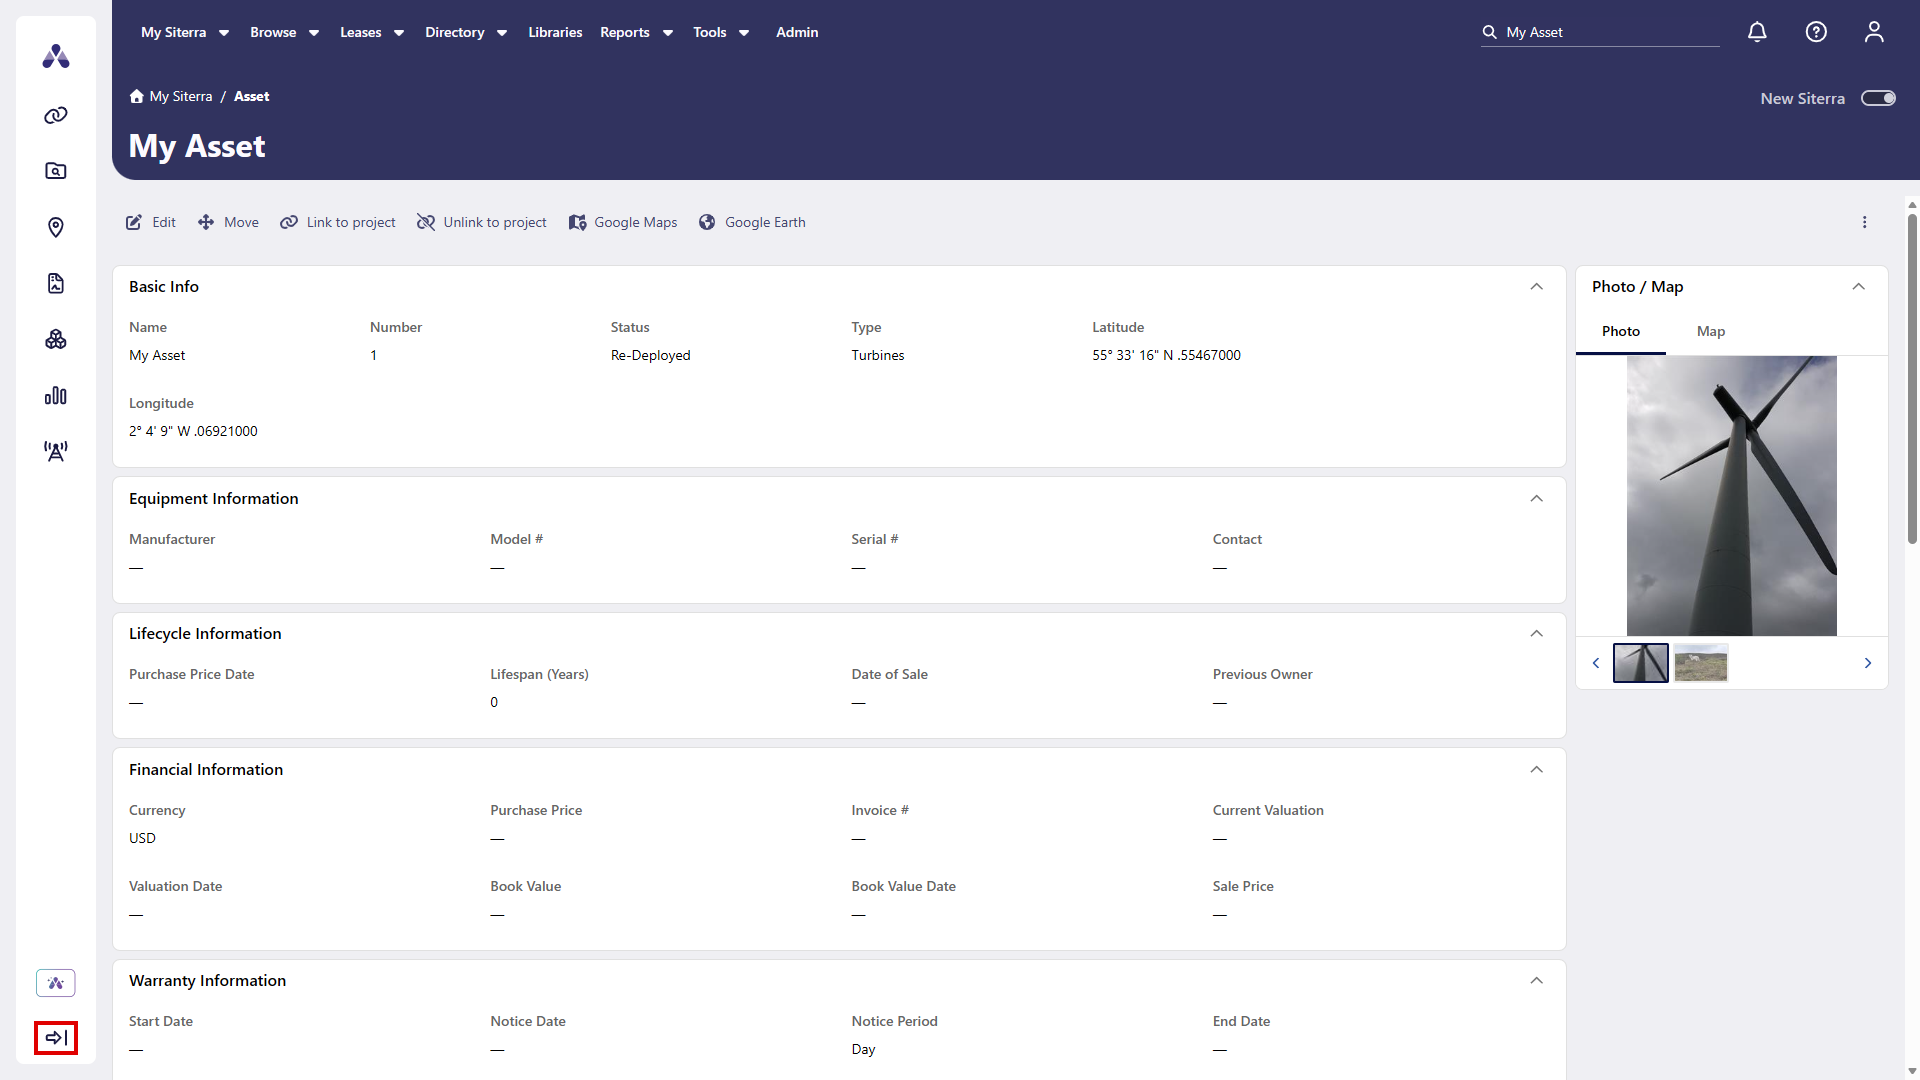
Select Show Tree View  or Hide Tree View
  to show or hide the Navigation tree.
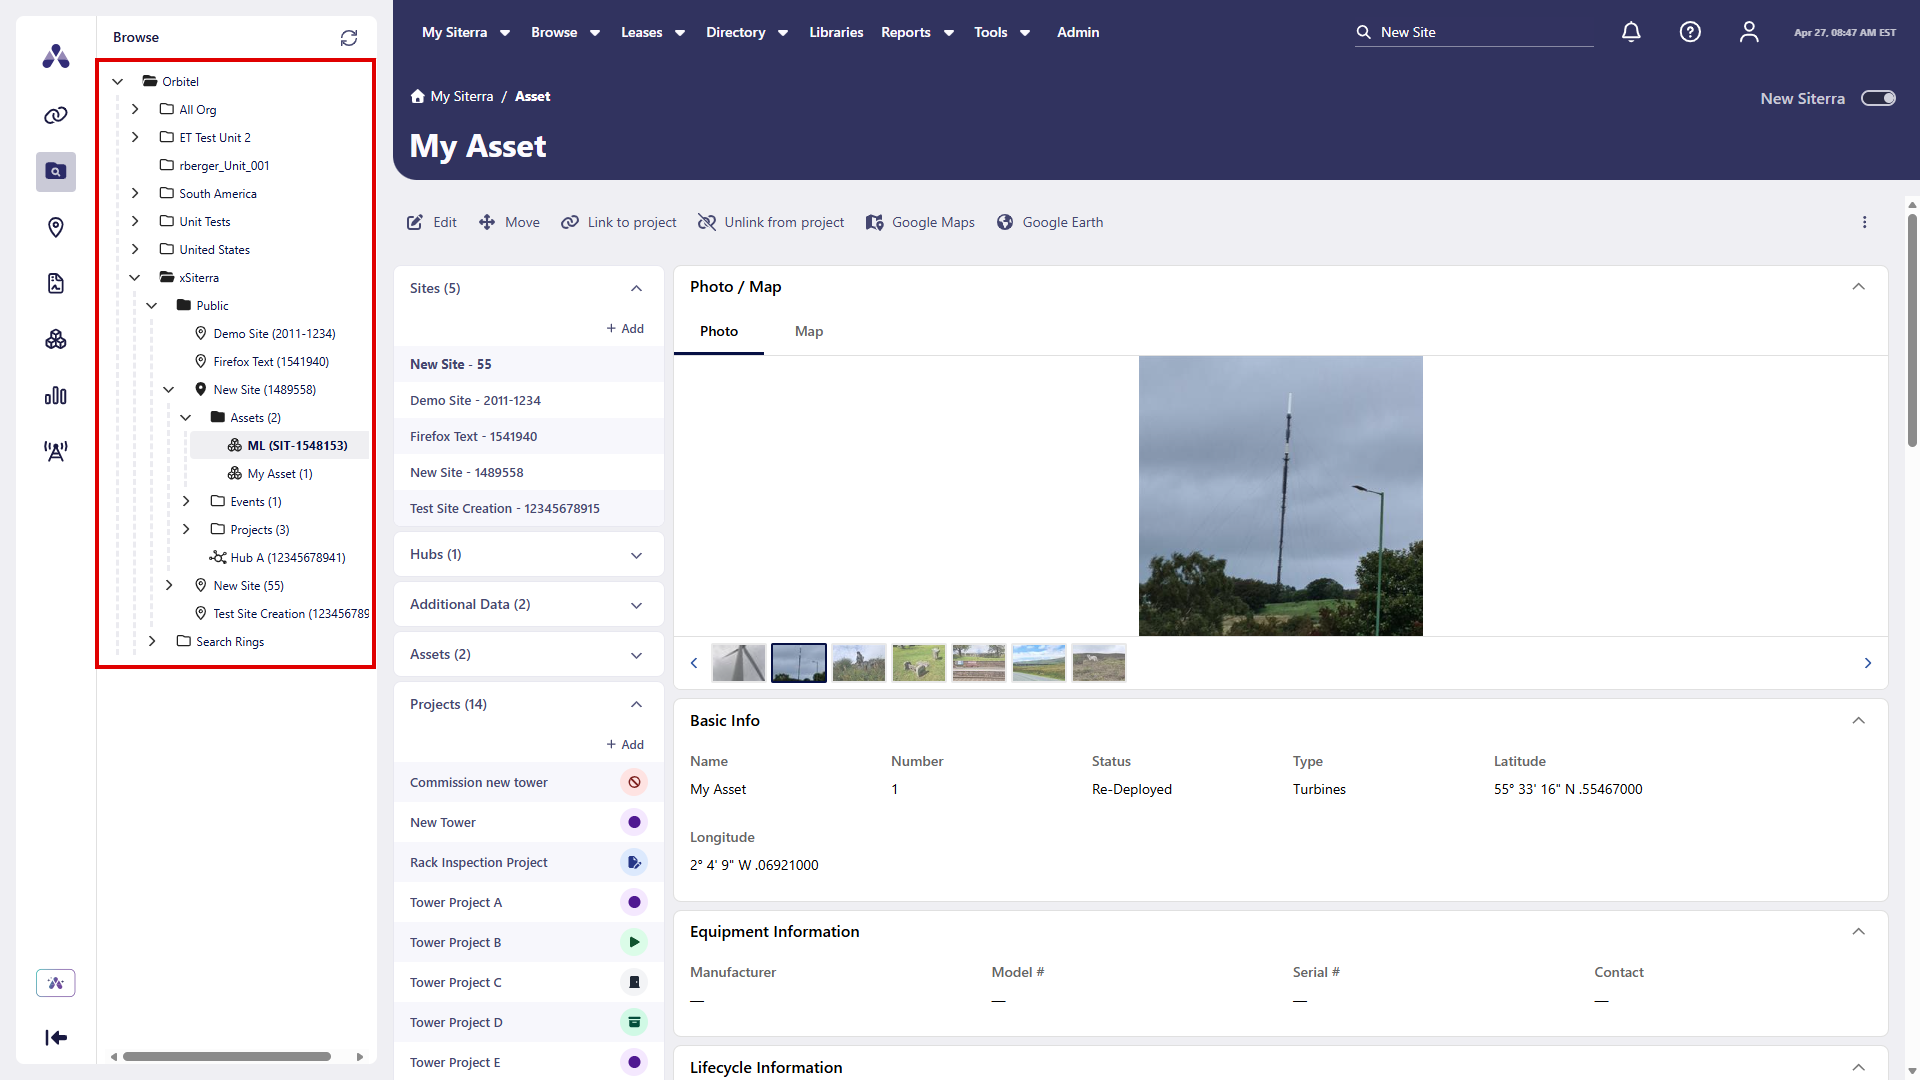
If you select a stale item in the navigation tree, a message appears that indicates someone may have removed or deleted that item.
Select Refresh  to update the navigation tree.
Assets
Use new Siterra to carry out actions to manage assets without searching through multiple menus including:
-
Edit.
-
Archive.
-
Move.
-
Delete.
-
Link/Unlink with project.
-
Access additional actions from the ellipsis button (
 ). For example, Log and Subscribe.
In New Siterra, navigate to an asset using the left navigation.
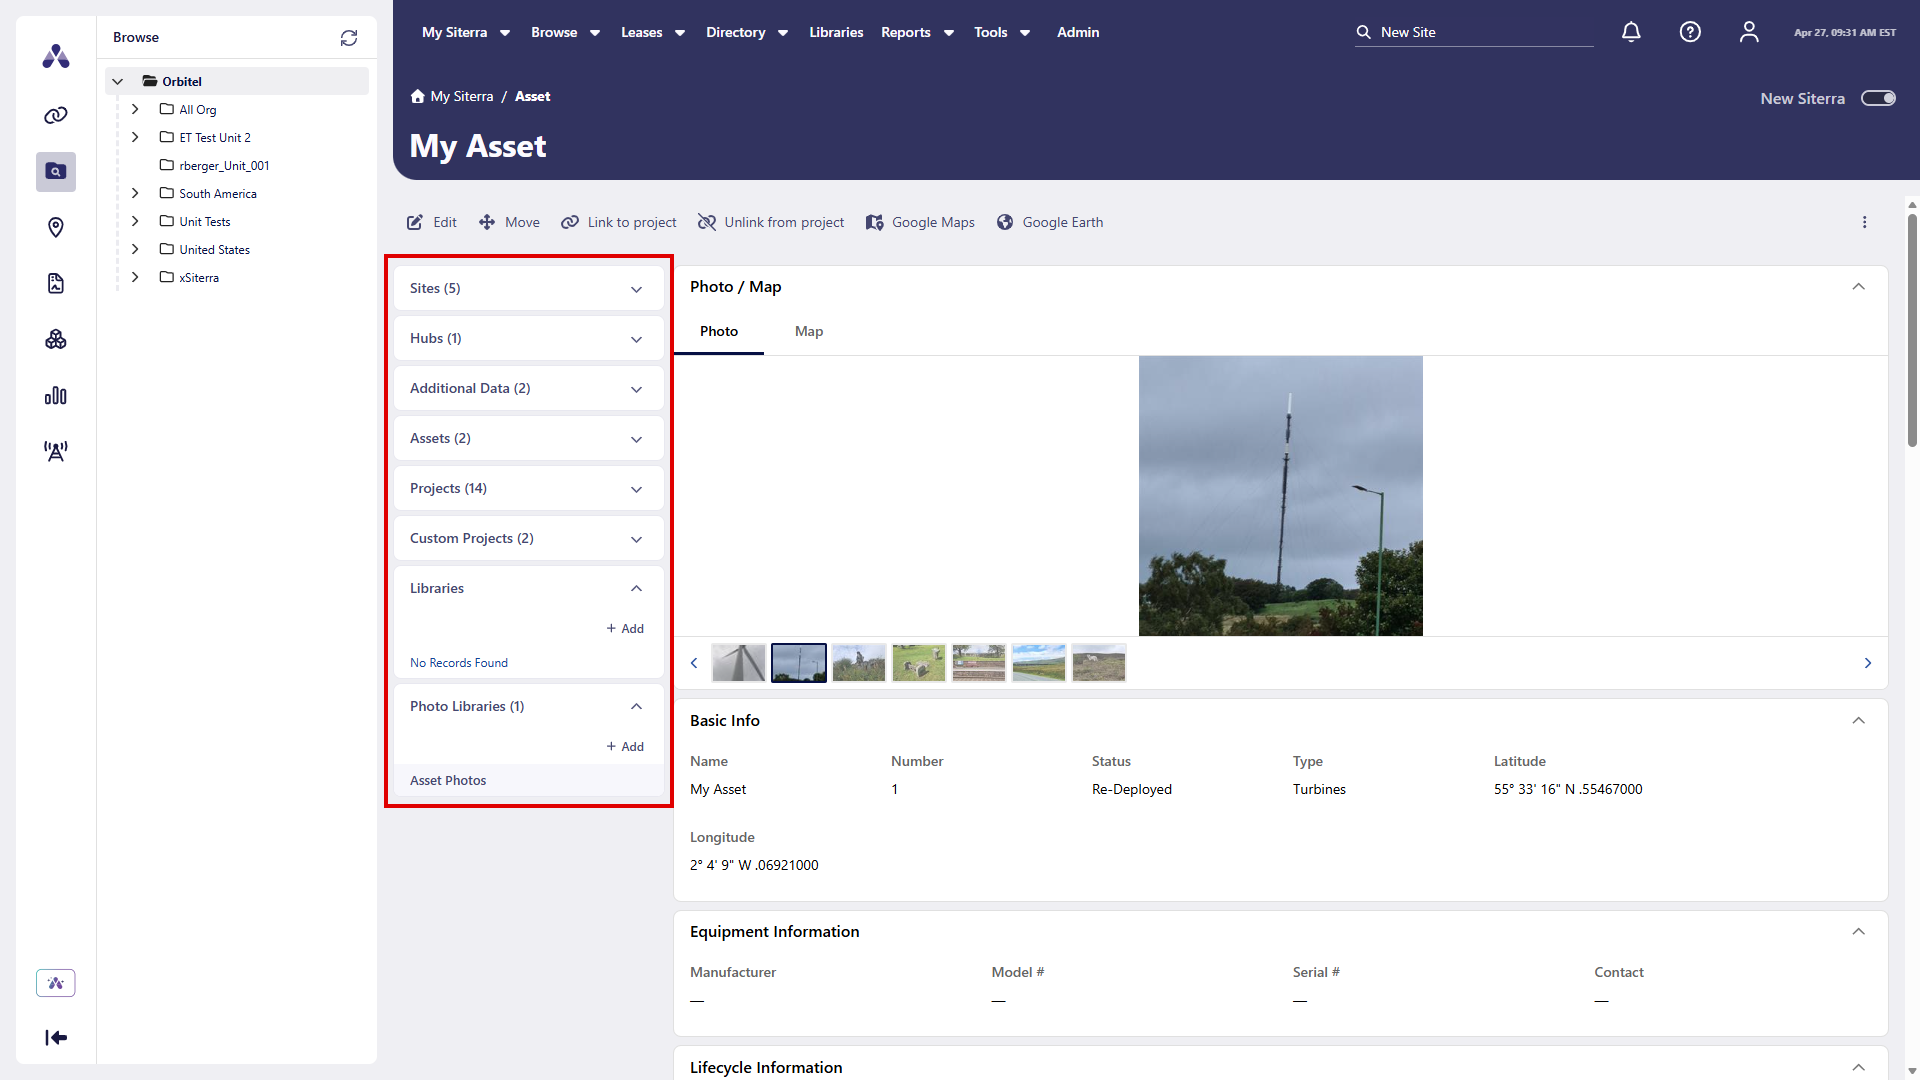
View and add records related to the asset in the leftmost pane of the Asset home page such as Sites, Hubs, and Additional data.
Use the available options on the Asset home page.
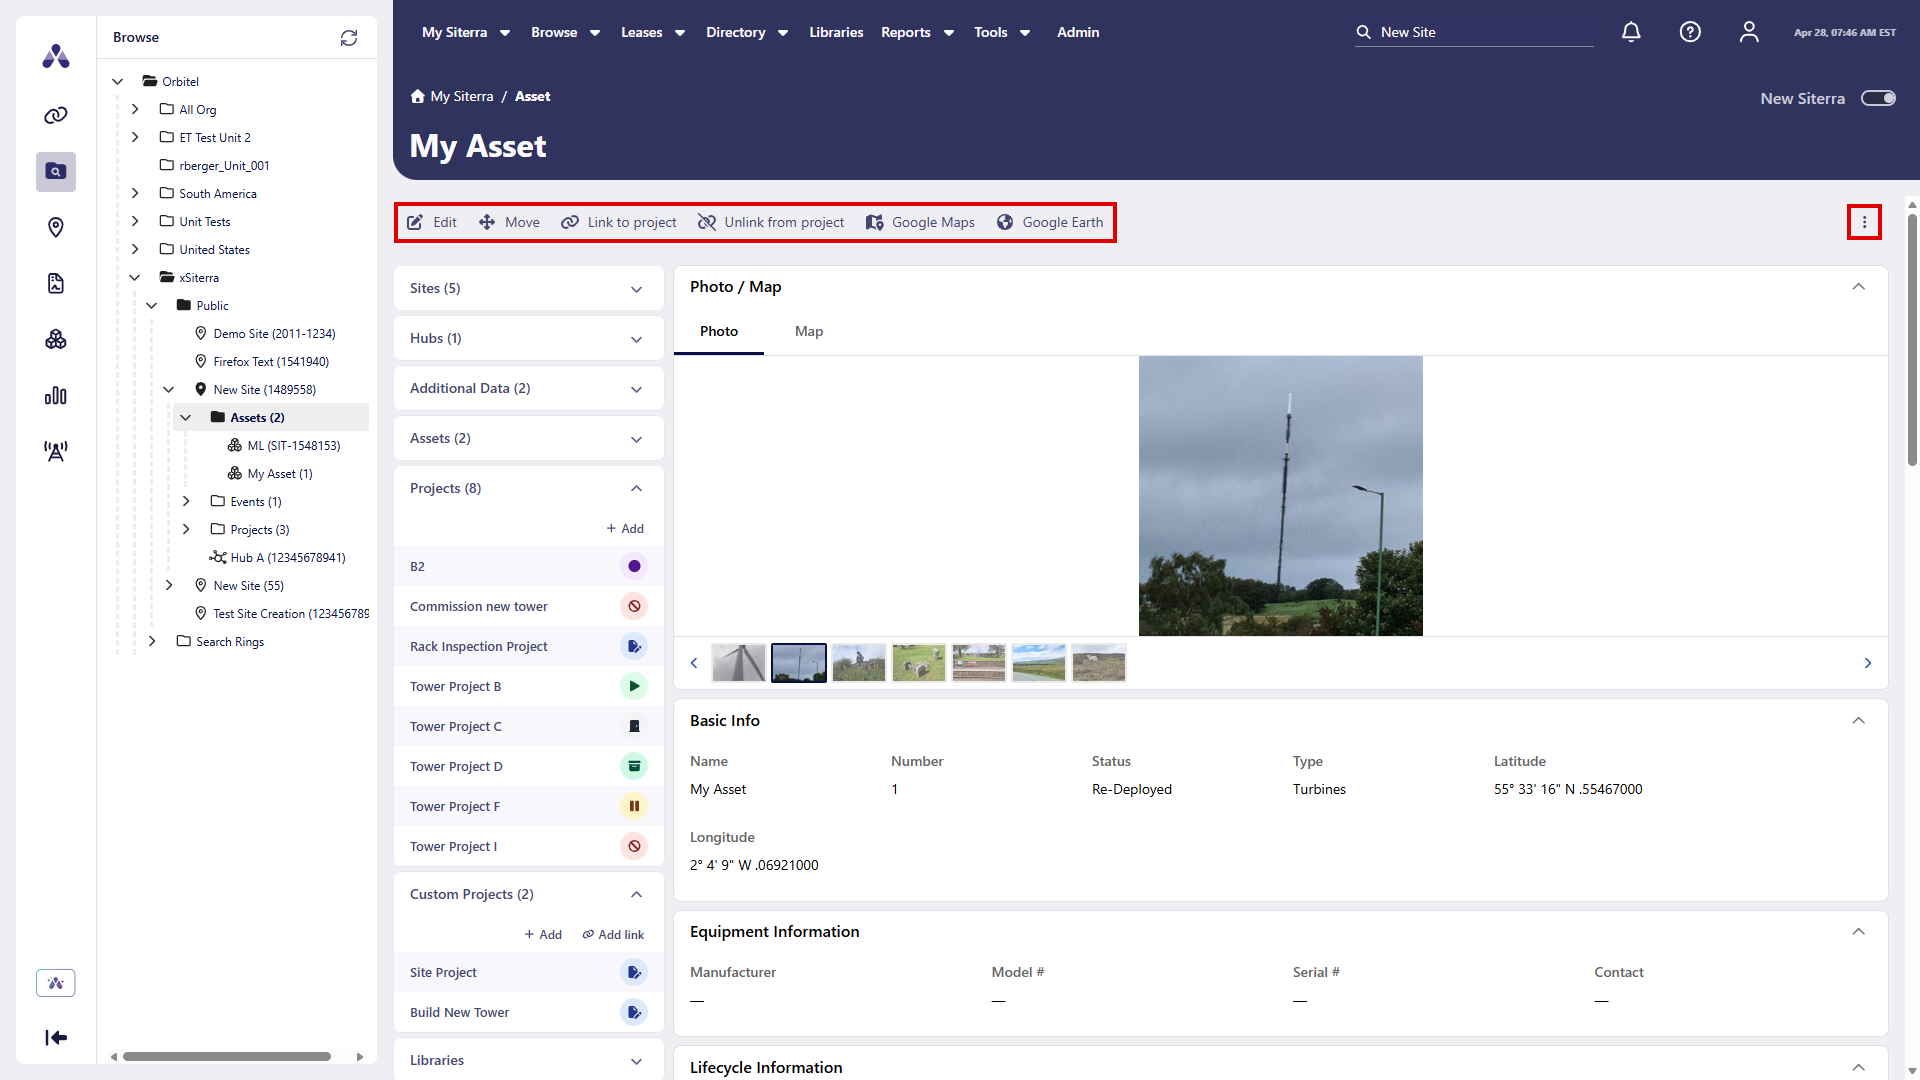
|
Icon / Option |
Function |
|---|---|
|
|
|
|
|
Move the asset to another Site. Choose a new location for the asset, and then complete the move. |
|
|
Link to a project. Select the project, and then complete the link. |
|
|
Unlink a project. Select the linked project, and then complete the unlink. |
|
|
View the asset location in Google Maps. |
|
|
View the asset location in Google Earth. |
|
|
Select the ellipsis button (
The ellipsis button ( |


Select the down arrow  to expand a section and up arrow
  to collapse it.
Select download  in the toolbar of a section to export related Components, Projects, Incidents, and Notes to Excel.
Select  in the toolbar of a section to add a Component, Incident, or Note.
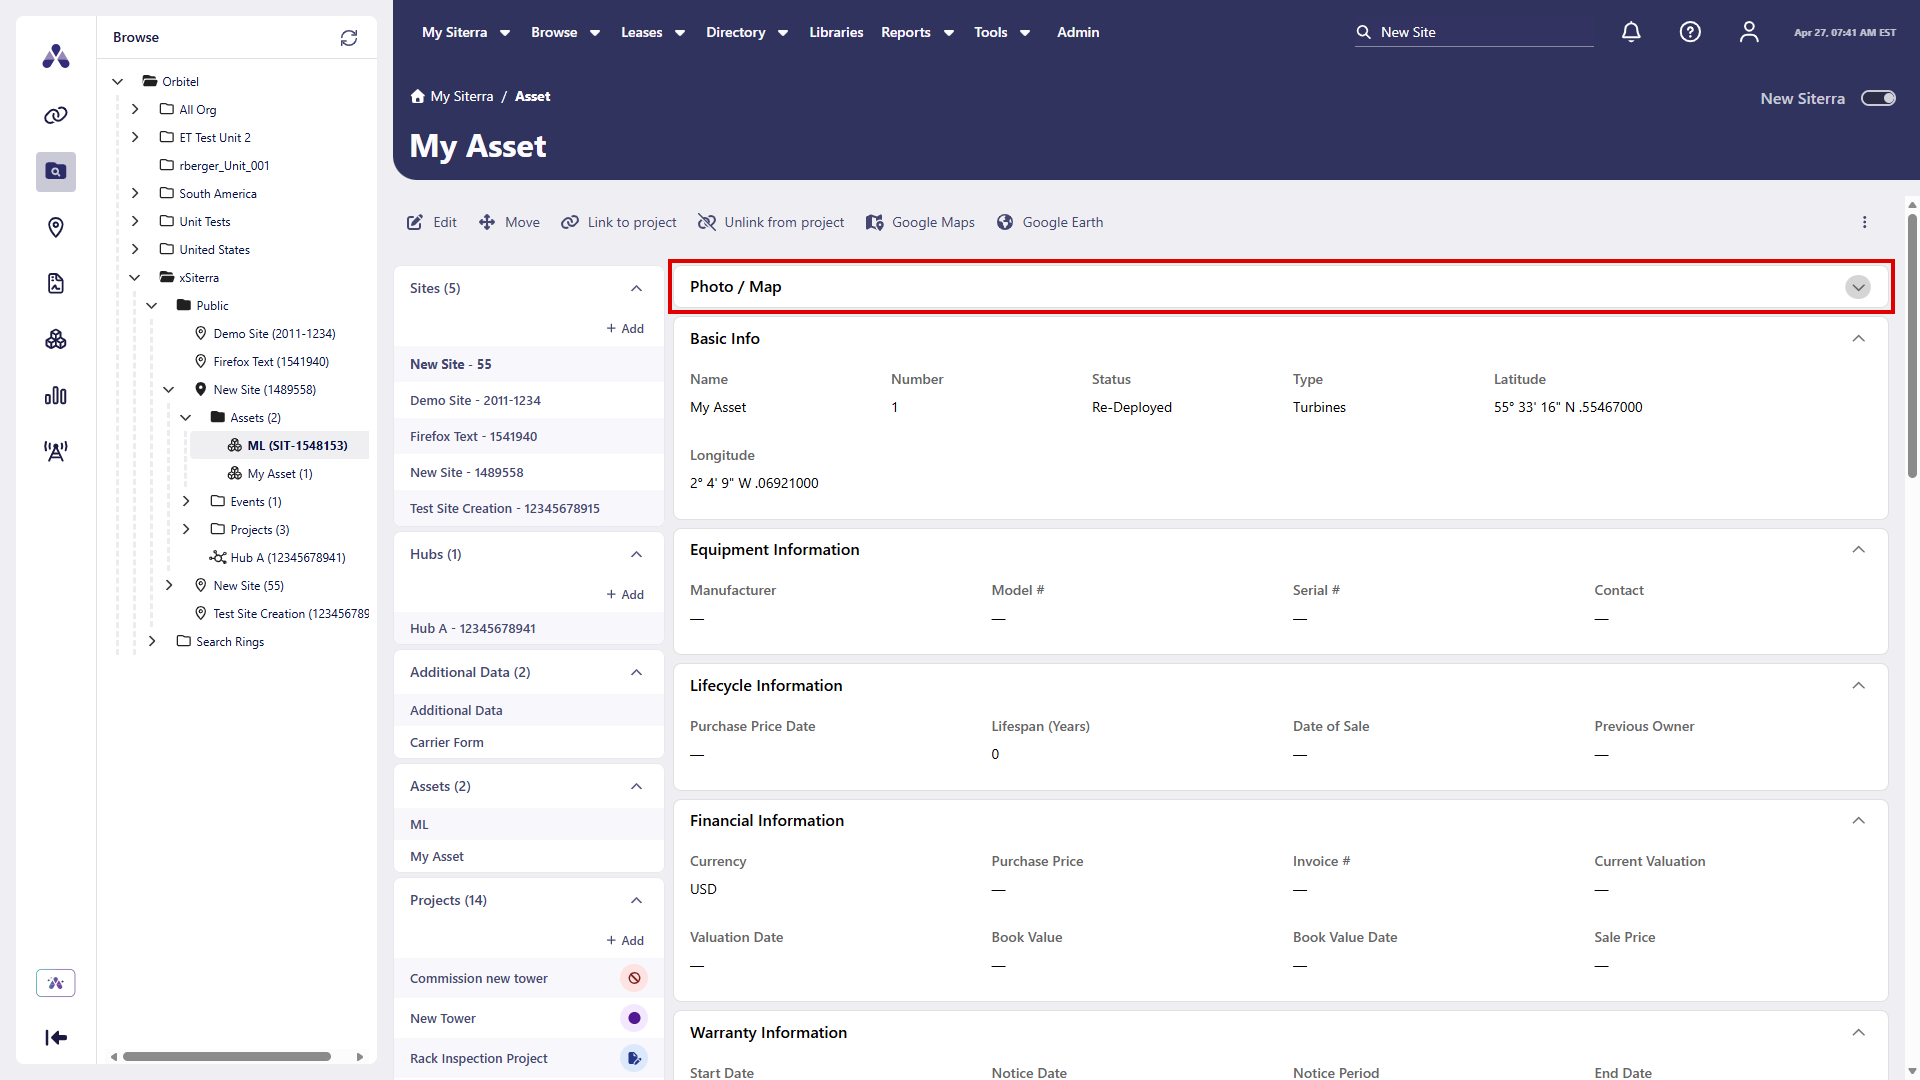
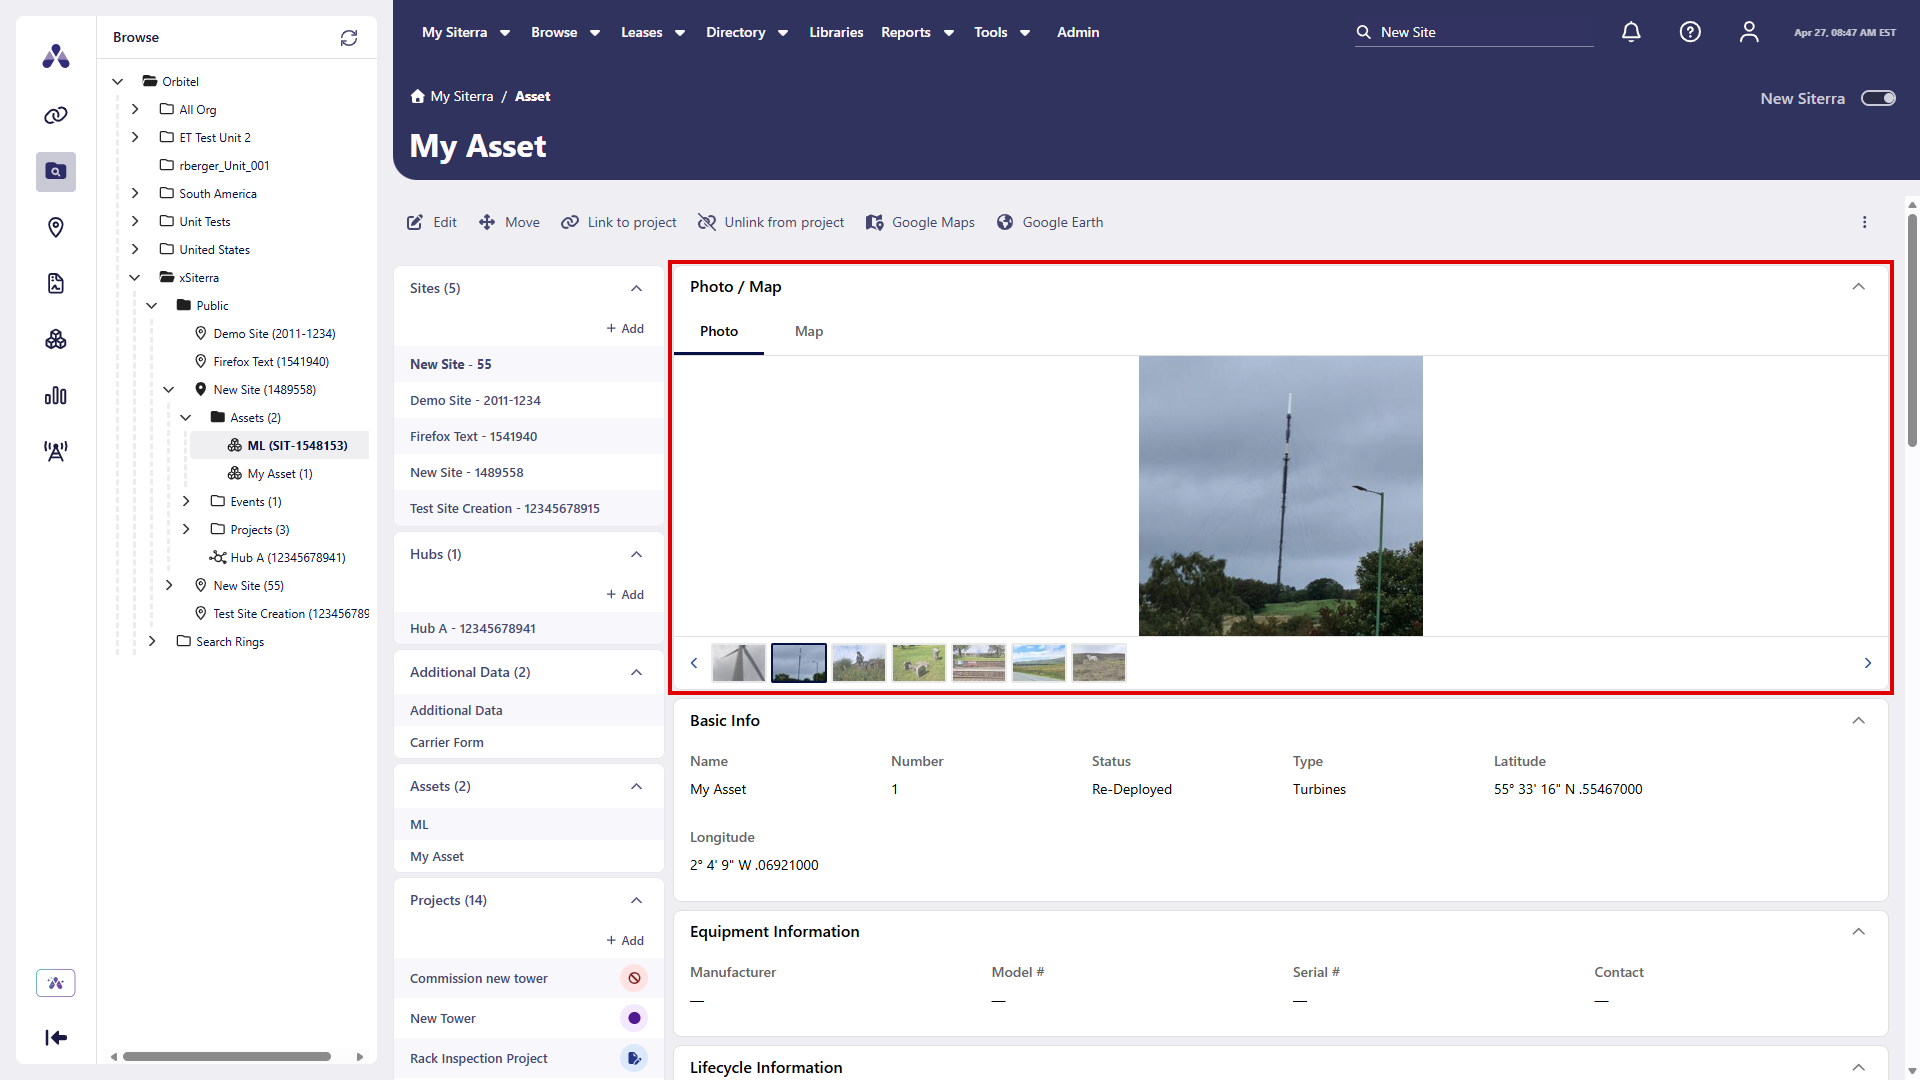
Photo / Map
Expand the Photo / Map pane to view photos of the asset and display its location in Google Maps.
Select Photo to view photos. To browse, select a thumbnail or select Next and Previous.
If the asset has coordinates, select Map to display the asset location.
Add / edit assets
When you create an asset, form fields of type lookup or lookup extended attribute are unavailable until you select +Select to choose a value.
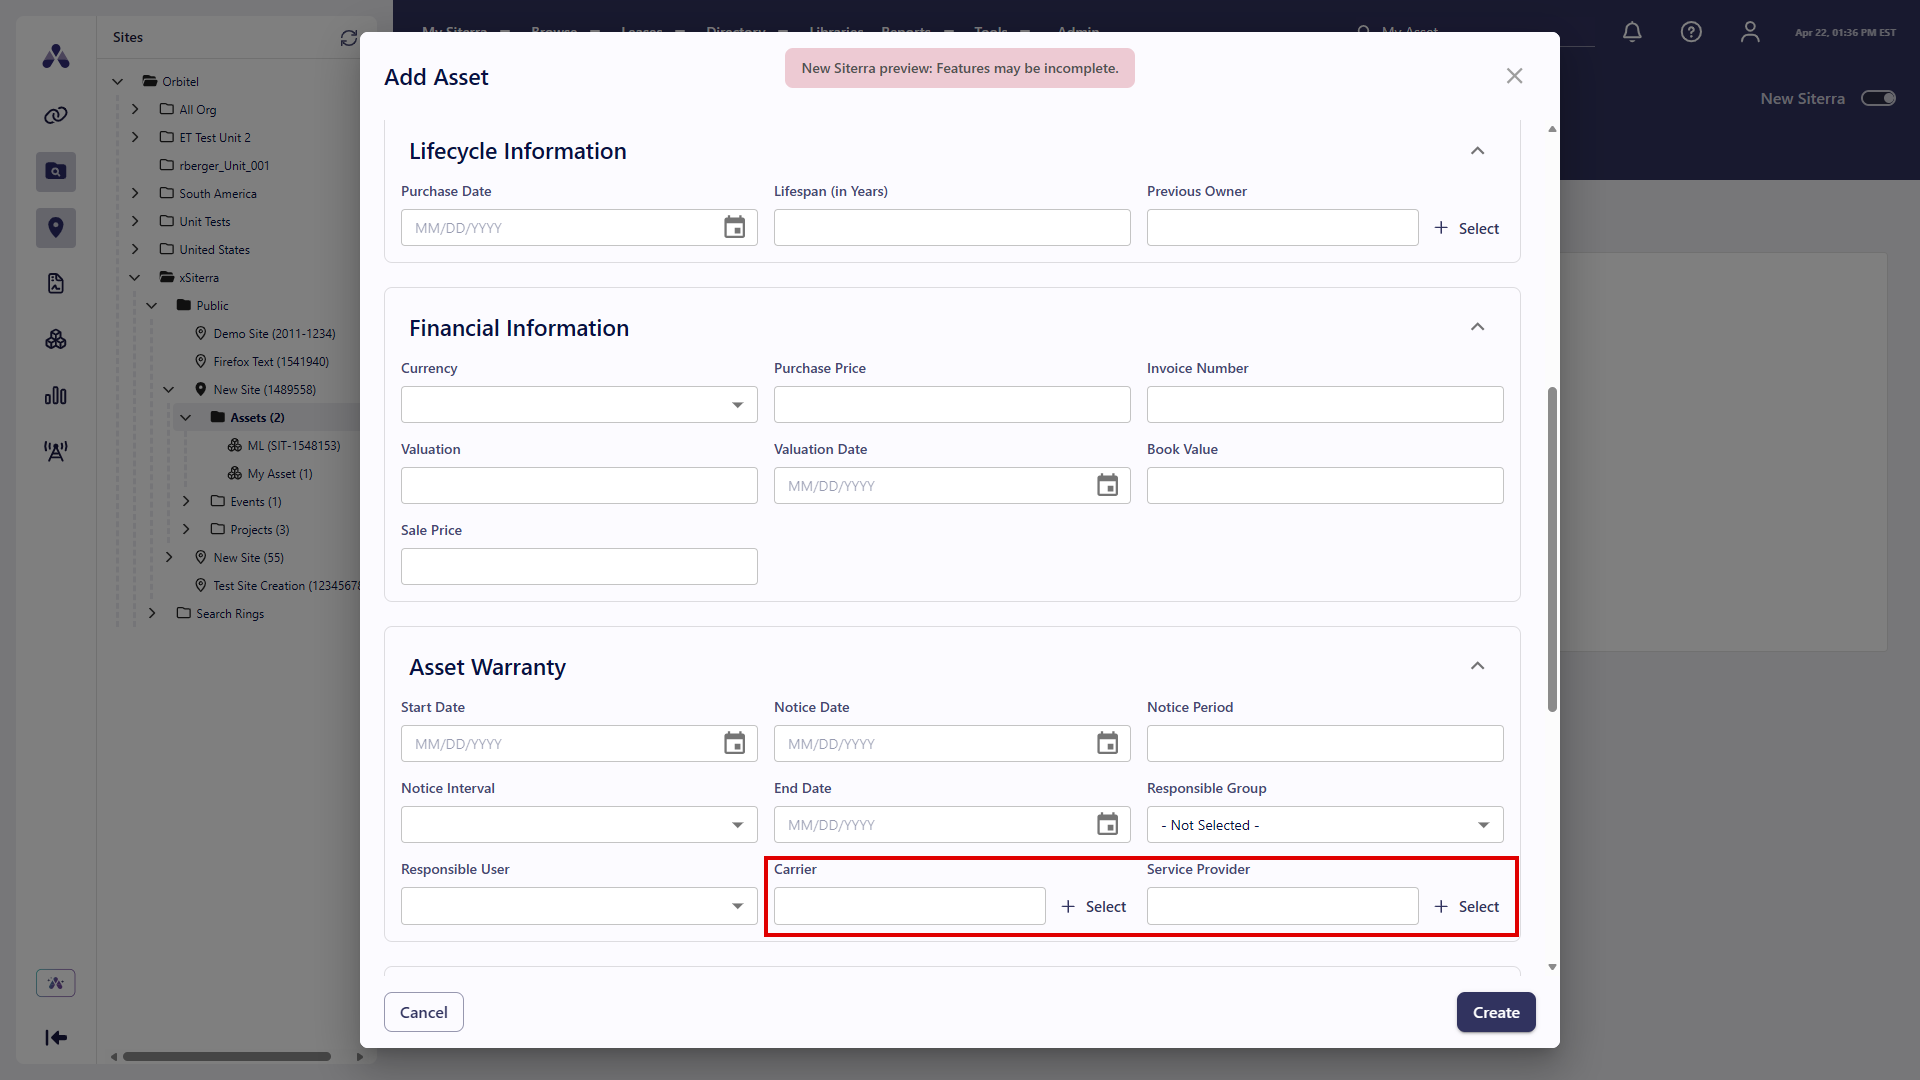
Calculated extended attribute fields are read-only and derive their value from other extended attributes, standard asset fields, or a combination of both depending on the configuration your administrator chooses. Supported field types include:
-
Number
-
Time
-
Boolean
-
Percentage
-
Measurement
-
Date
-
Prefix and Suffix
-
Currency
-
Area
-
LargeText
-
Latitude and Longitude
-
DelimitedStringLookup
Create new components
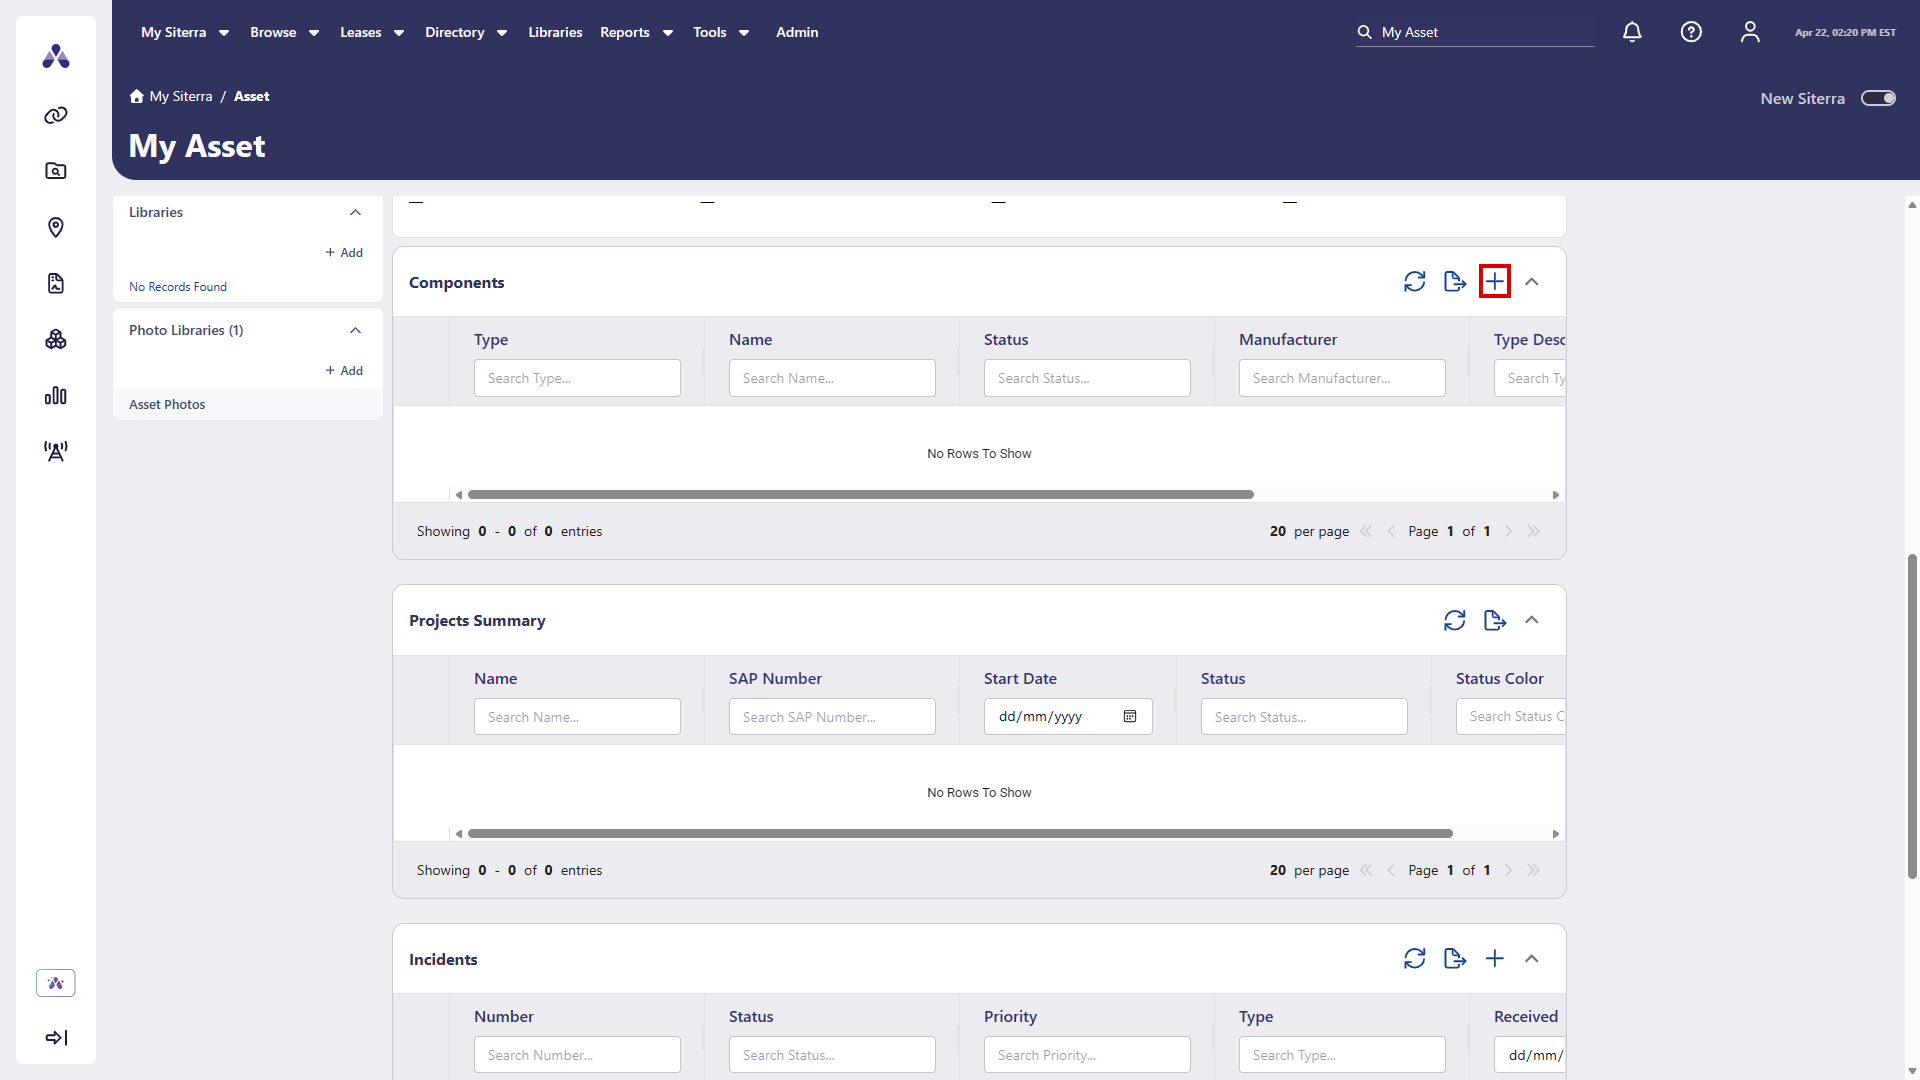
Create new components from the Components pane.
-
Select + in the upper-right corner of the Components pane.
-
Complete each section of the Add Asset window:
-
Select Create.

Extended Attributes: Displays fields according to EA component types your administrator has configured such as Lookup and Calculated. When you change Asset Type, this refreshes automatically depending on the configuration your administrator has chosen.
Project status
SP-59507
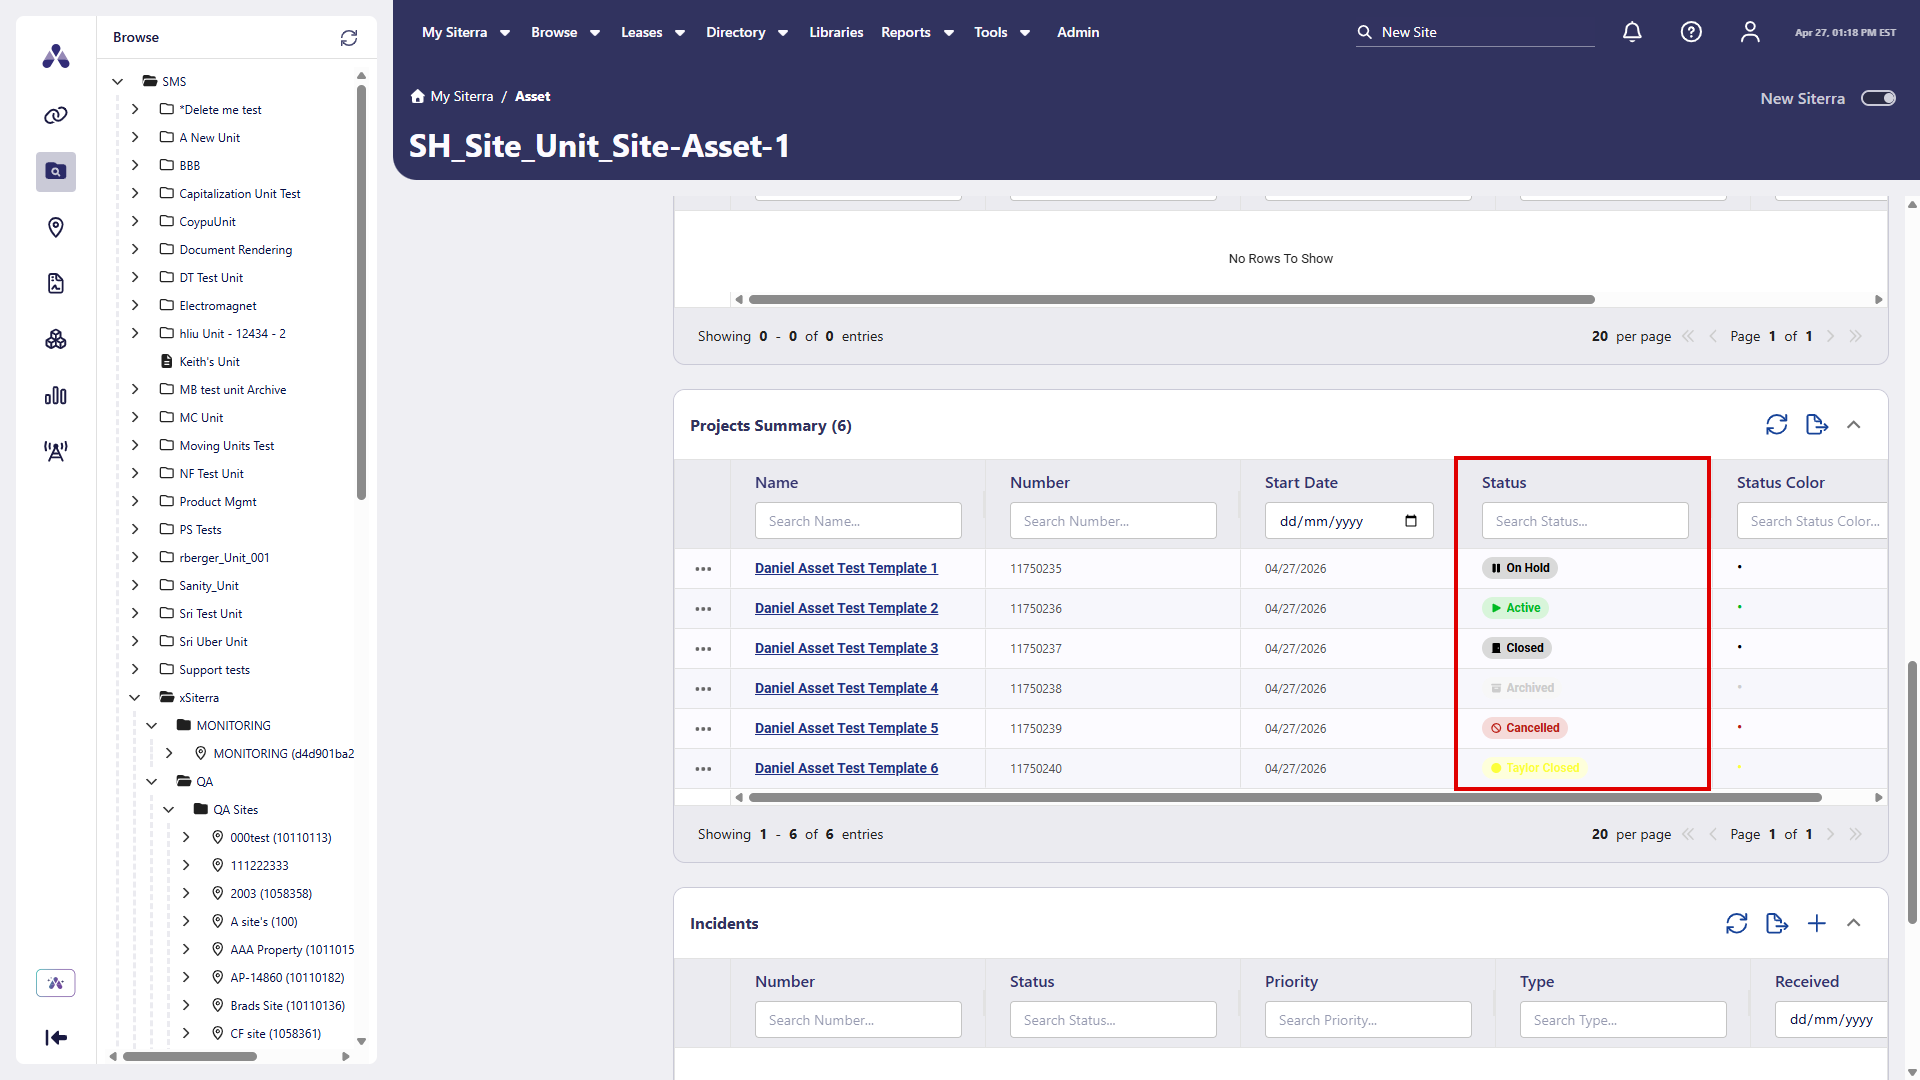
The Projects Summary pane on the Asset home page now displays project statuses as visually distinct status badges. Each badge includes a status icon alongside the status name, with a color-coded background for quick at-a-glance recognition:
Sites
View site information on the Site home page including Site data, Site address, and Responsibilities.
Select a pane heading to expand or collapse it, or select the expand icon  to expand it and the collapse icon to collapse it.
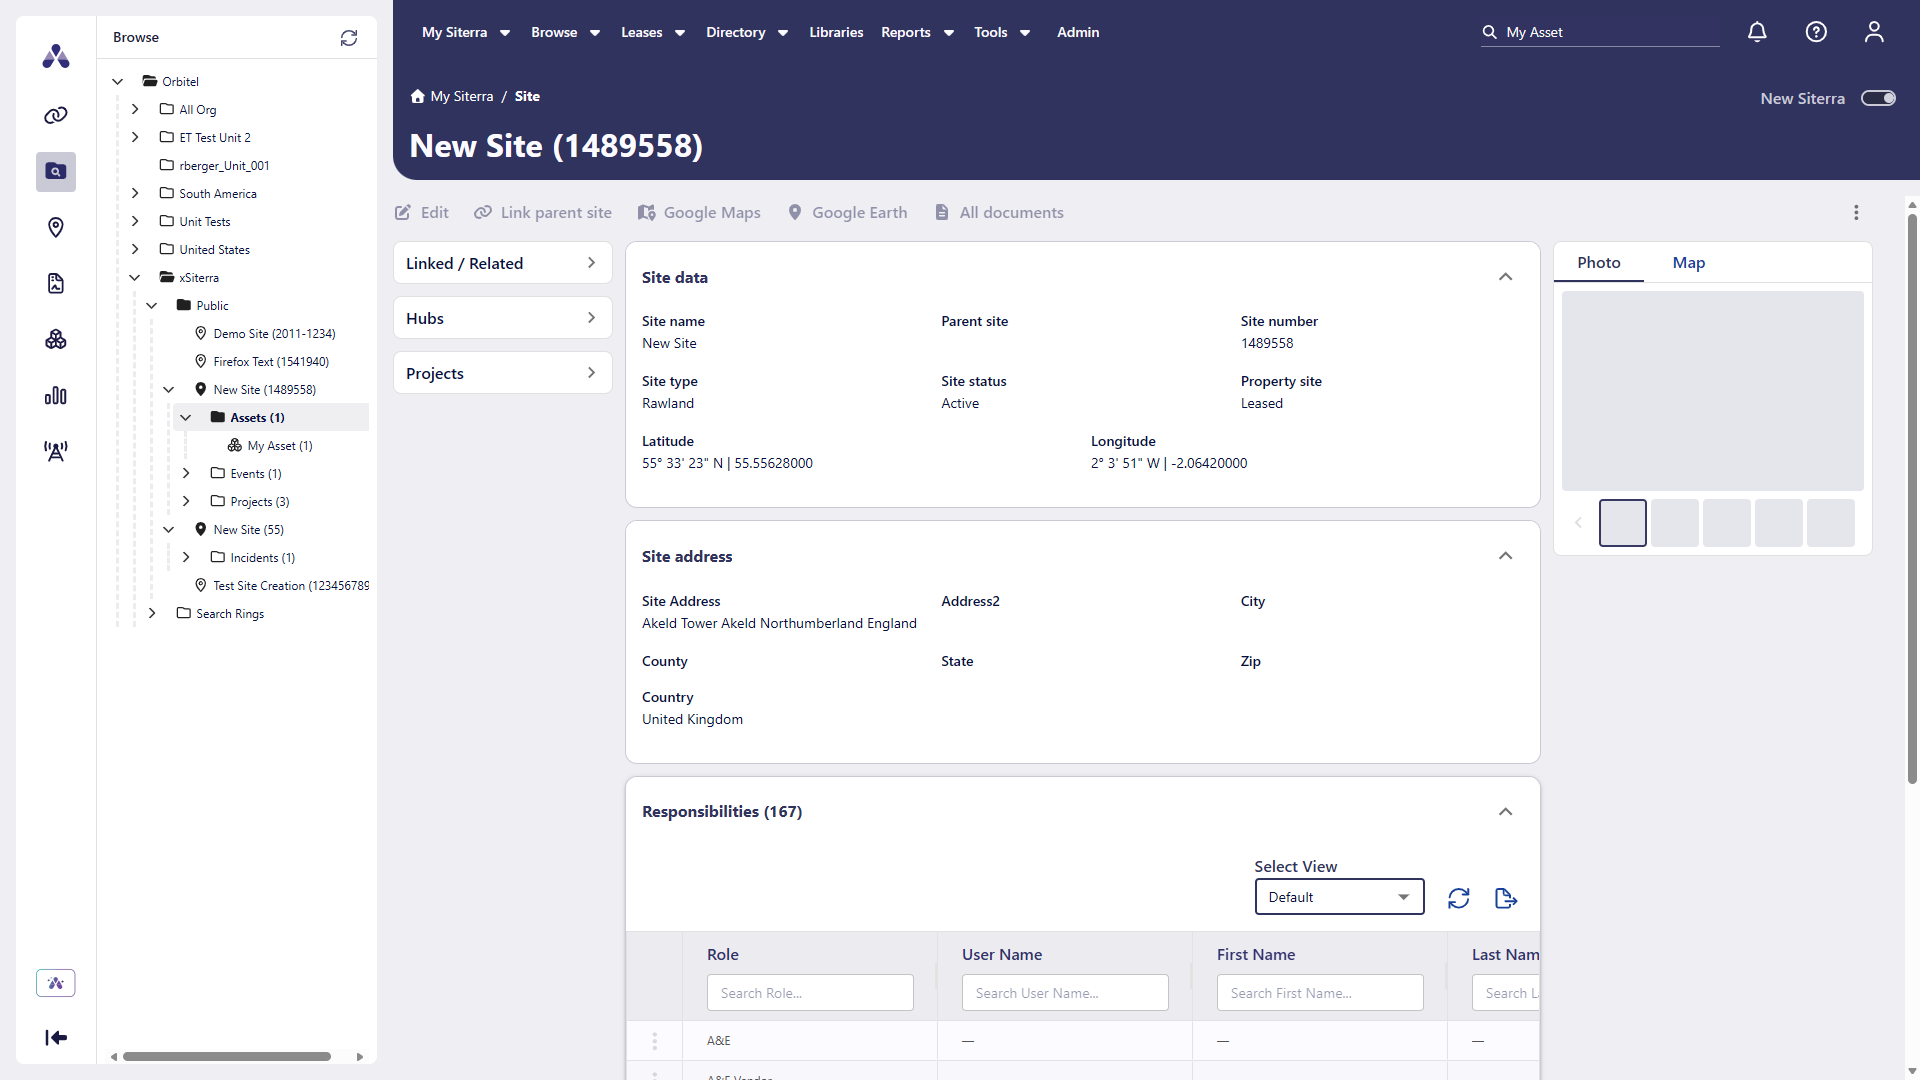
Select Download  in the Responsibilities pane to download responsibilities data.
Search
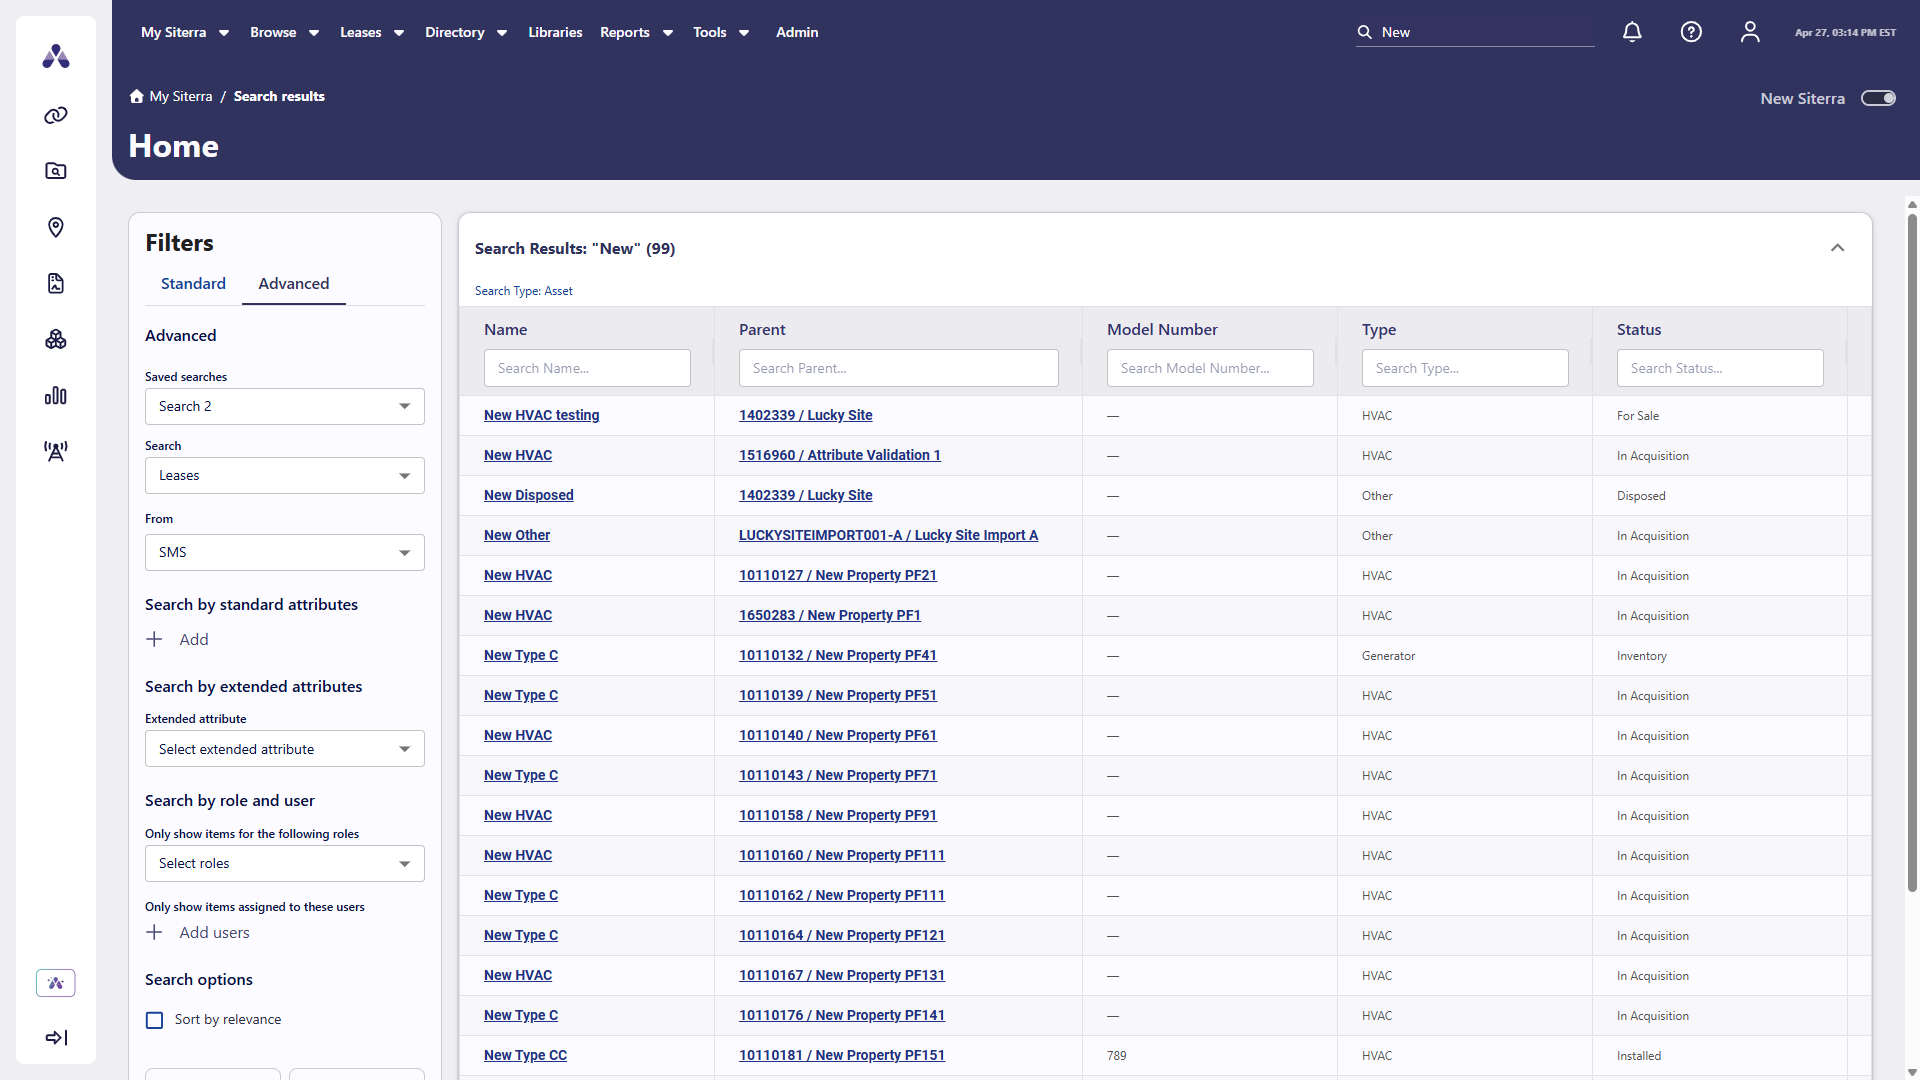
Search for records by object type using a variety of search options with the Filters pane:
-
In the search bar, select Search
 .
. -
Under Search for, select an object type.
The search updates to Search for [object].
-
Enter your search criteria, and then press Enter.
-
In the Filters pane, enter the Standard or Advanced search criteria you want, then select Search.
Under Advanced, select saved searches, attributes, extended attributes, roles, and users.
-
Enter a value in a column heading to filter the Search Results pane by that value in that column.